
Put the art into “lash artist” with these textured sets!
Textured, wispy, strip lash – whatever you call them, creative lash extension styles are here to stay! What began in the mid-2010s as a quest to recreate the eponymous “Kim K” spiked lash look has evolved into a beautiful array of unique lash maps. As lash artists, we are no longer limited to a simple cat or doe eye and have the opportunity to create truly customized sets.
While branching out to these more complex styles can feel intimidating, it does not need to be.
Unlike traditional styles, textured maps don’t require every extension to be perfectly placed for a gorgeous outcome. We compiled our tips for crafting textured lashes, along with three custom maps you can share with your own clients.
When creating a textured set, keep the following in mind:
[ihc-hide-content ihc_mb_type=”show” ihc_mb_who=”2,4,5,6,7″ ihc_mb_template=”3″ ]
• Maximize texture using length and curl. For the most dimension, mix lengths and curls in each section across the lash line. As with regular maps, only move one step up or down in length or curl from section to section to ensure a seamless transition.
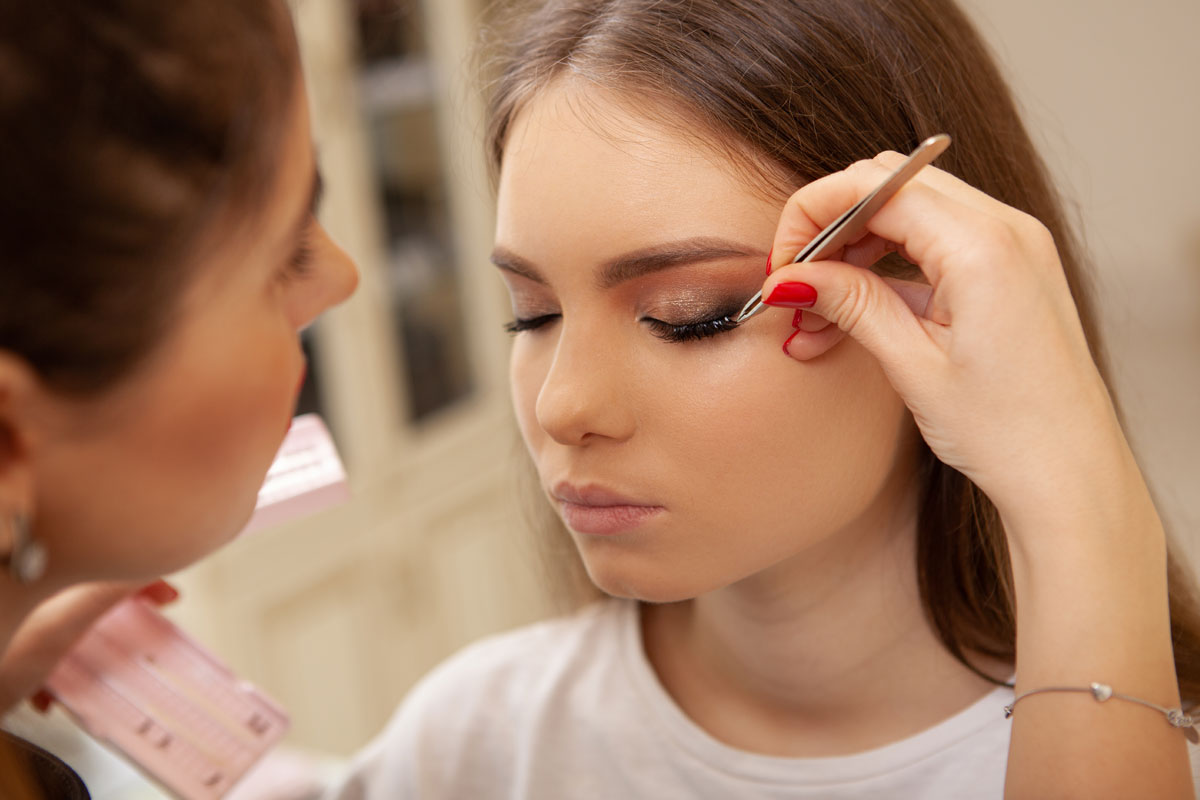
• Use closed fans for the spikes. A true “spike” should be narrow to the tip, rather than fanned out. To create a closed fan, pick several volume extensions from the strip, dip, and place – no fanning necessary. A skinny base is still important with closed fans, so gently maneuver the bases together when you dip in the adhesive if they become blocky.
• Make your spikes pop. For the spikes to be noticeable, use extensions at least 2mm longer than the longest lashes in that section (e.g., if the base layer is 9-10mm, your spike should be at least 12mm). For more dramatic spikes, use extensions 3-4mm longer.
• Account for lash health. Because spikes are significantly longer, you will need to consider their weight to ensure the health of your client’s natural lashes. Only place spikes on the strongest lashes in a section. Reduce the diameter (we recommend 0.03mm) and use just a few extensions (3-5) in the fans to decrease total weight.
Work in steps:
1 Place the longest spikes first. This will allow you to space them evenly along the lash line and across both eyes.
2 If your map has more than one layer of spikes, place the second-longest spikes next. Repeat as needed with shorter spikes until all spikes have been placed.
3 Fill in with shorter open fans. This will serve as your base layer and should be the same length you would use for a normal cat or doe eye map. Shorter lashes are crucial for building density, so don’t skip this layer.
Write it out. Even if you don’t normally write out your maps, doing so for textured sets can be a lifesaver given their complexity. Jot down lengths, curls, and diameters on the eye pad to ensure you never forget what’s supposed to go where.
The following maps were created for LNE readers by lash artists at our Philadelphia studio. The lengths listed in the maps below are meant for clients with strong natural lashes. Always adjust for clients with shorter or weaker natural lashes.
THE AUDREY
Created by Krisstan Aquino.
This map was inspired by Audrey Hepburn, whose facial structure and ascending almond eyes gave her a natural feline playfulness. This subtly textured style will be extra flattering for clients with close-set eyes, as length toward the outer corners will give the illusion of greater distance between the eyes.
Notes on the Audrey:
• To build a dense lash line like Audrey’s, keep the general lash map shorter – no more than 1-2mm longer than the natural lashes. Create softer texture with spikes a maximum of 2mm longer than the general lash map.
• Use a stronger curl toward the outer corners to mimic the lift Audrey had.
• Taper the length at the very outer corners to avoid drooping.
• Make the spikes pop even more by mixing curls. We recommend a slightly looser curl for the spikes, such as C, mixed with a stronger curl on the shorter lashes, such as CC.
NOT YOUR AVERAGE CAT EYE
Created by Gianna Kockott
This map uses a heavy dose of closed fans to add extra dimension and give the “wet” look that’s been growing in popularity. This map works particularly well for clients with even or ascending eyes, but is not recommended for clients with descending eyes, as it may make the outer corners appear to droop, even with tapering.
Notes on Not Your Average Cat Eye:
• This map uses three sizes of closed-fan spikes, along with the base of open fans. The longest spikes should be 3-4mm longer than the base layer and focused on the outer half of the eye. The medium spikes should be 2mm shorter than the long spikes through the outer 3/4 of the lash line, and the shortest spikes should taper from 1mm longer to equal to the length of the open fans when working from outer to inner corner.
• The longest spikes should end approximately 1.5-2mm from the outer corner. Reserve the remaining outer lashes for shorter spikes and open fans to avoid drooping.
One of the most rewarding aspects of being a lash artist is the ability to fully customize your work to perfectly complement your client’s features, lifestyles, and preferences. Incorporate textured maps into your practice to increase your versatility and have fun in the process!
[/ihc-hide-content]
Read More…
-

KPIs Every Esthetician Should Track Monthly
30 June, 2026 -

How to Calculate Your Hourly Worth as an Esthetician
30 June, 2026 -

Your Three Most Important Hires
31 May, 2026 -

The Prime Problem
31 May, 2026 -

The Menopause Skin Shift
31 May, 2026 -

Regenerative Corrective Skincare
31 May, 2026 -

Why Your Acne Clients Keep Relapsing
30 April, 2026 -

Holistic Modalities for the Modern Esthetician
30 April, 2026

