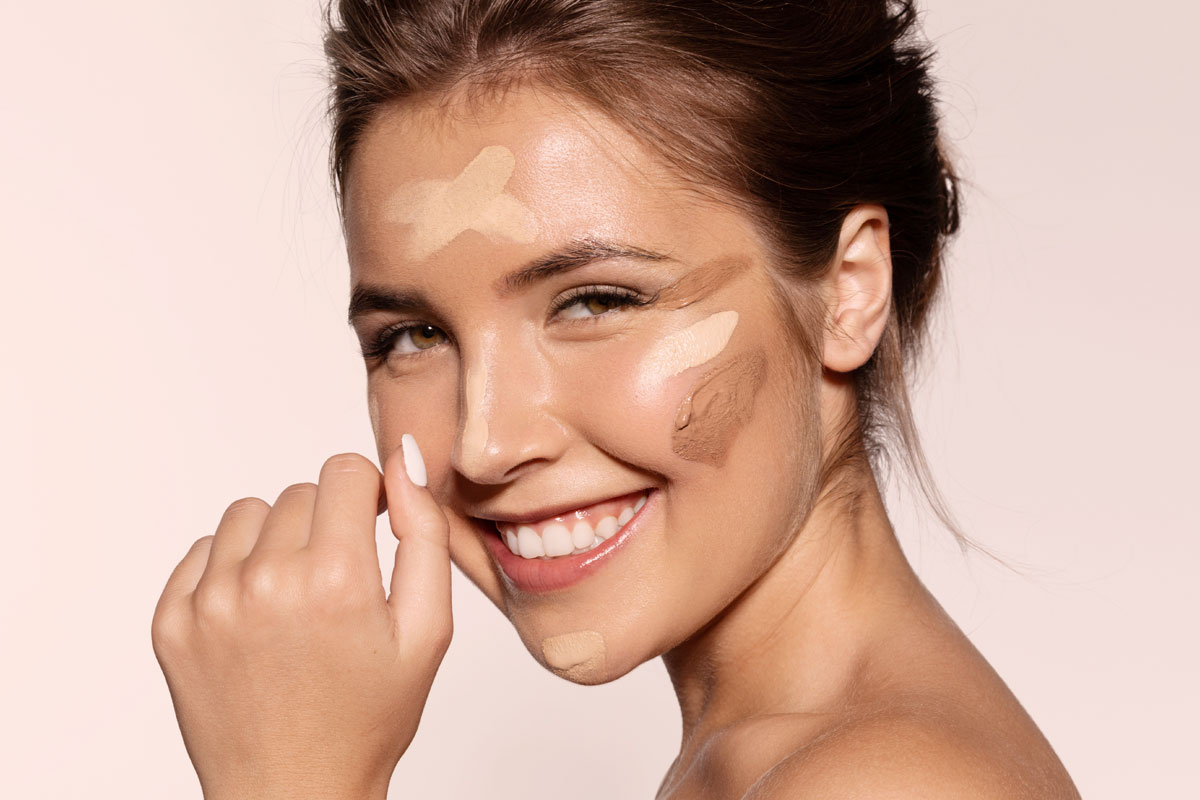
How to prep the skin for flawless makeup application
As a professional makeup artist and licensed esthetician, the number one rule for the most beautiful makeup application will all take place in the prepping of the skin. Yes, that’s right. Quoted by many, including myself, “your makeup is only as good as your skin,” so that is where the glam starts. Let me walk you through some Skin Prepping techniques to achieve that natural dewy glow before makeup application!
Depending on the occasion and how much time you have, prepping the skin can be as quick as three minutes or up to 30 minutes. From cleansing and depuffing the eyes with an eye mask and from hydrating serums to nourishing moisturizers, there are several options to achieve well-prepped skin.
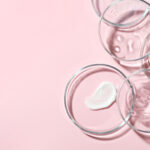
When preparing the face for makeup, the first and most crucial step is to have clean skin. If you’re working on a client and uncertain that your client’s skin is its cleanest, have micellar water cleanser handy. Micellar water will not only cleanse the skin by removing excess dirt, debris, or makeup they may have left on the skin, but it will also tone and hydrate the skin.
Otherwise, double cleanse the skin using an oil base pre-cleanse and your second cleanser of choice to cleanse the skin thoroughly. Please refrain from using alcohol-based products, as alcohol strips the skin and drys it out. The goal is for the skin to be well hydrated.
“Depending on the occasion and how much time you have, prepping the skin can be as quick as three minutes or up to 30 minutes.”
[ihc-hide-content ihc_mb_type=”show” ihc_mb_who=”2,4,5,6,7″ ihc_mb_template=”3″ ]
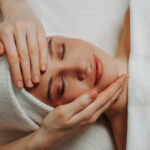
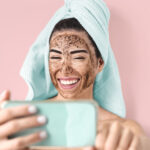
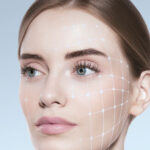
After you’ve cleansed with micellar water, you can apply a sheet mask for optimal hydration and under-eye masks if time allows. This will also help with puffiness and dark circles. Leave the masks on for about 10-15 minutes. You can massage the excess gel from the mask into the skin with your fingertips or a gua sha or jade roller stone. These are great tools for helping to instantly lift and sculpt the skin while also helping with lymphatic drainage, relieving tension, and improving fine lines and wrinkles.
After applying your serum or elixir of choice, you can also use these tools, which would come after the mask. I always use a vitamin c based serum to help with a natural healthy glow. Another option is beauty elixirs. They often have 24k flakes in them, leaving the skin luminous! Some artists even mix them into their foundation of choice.
Next, let’s seal the deal with a moisturizer! A friendly reminder, moisturizer is your last step. It locks in all the active ingredients from the prep work we just did.
It is great to have a few moisturizer options in your kit for the many different skin types if you’re working on clients. It would help if you had options such as an oil-free moisturizer for more oily skin types and one that’s a bit heavier for more normal to dry skin types. I also recommend having an SPF nearby as well. You can find a 2-in-1 SPF/moisturizer blend to cut out an additional step. All work you do on the skin is null and void if you don’t protect it in the end! It is optional to use your hands or a brush to work in the moisturizer. However, I like to use my hands!
Now that the skin is well prepped and hydrated, it’s time for primer. Primer is also an optional step. There are several primers to choose from depending on your client’s skin type. Primer is meant to help the makeup last longer throughout the day and protect the skin from the makeup sitting directly on it. If you choose to use it, work it from the middle of the face outward, blending into the skin seamlessly.
Now you are officially ready to apply your makeup application. I hope these tips and tricks have been helpful. Try them out, and see what a difference healthy skin can make in your makeup application.
[/ihc-hide-content]
Read More…
-
The Client Experience Blueprint
31 March, 2026 -
From Posting to Profit
31 March, 2026 -

Building Stronger Businesses Through Strategic Partnerships
31 March, 2026 -
Trending Ingredients 2026
28 February, 2026 -
The New Age of Skin Science
28 February, 2026 -
The Art of the Stack
28 February, 2026 -

Post – Procedure Skin
28 February, 2026 -

Understanding Menopausal Skin
31 January, 2026 -
The Over-Exfoliation Epidemic
31 January, 2026 -

The Algorithm vs. The Expert
31 January, 2026